How to create a new Work Order via Help Desk with wizard mode?
Jump to
The Wizard Mode feature is designed in the Help Desk to guide help desk personnel to create work orders step-by-step.
How to create a new Work Order via Help Desk with wizard mode?
To turn on the Wizard Mode for Work Order creation
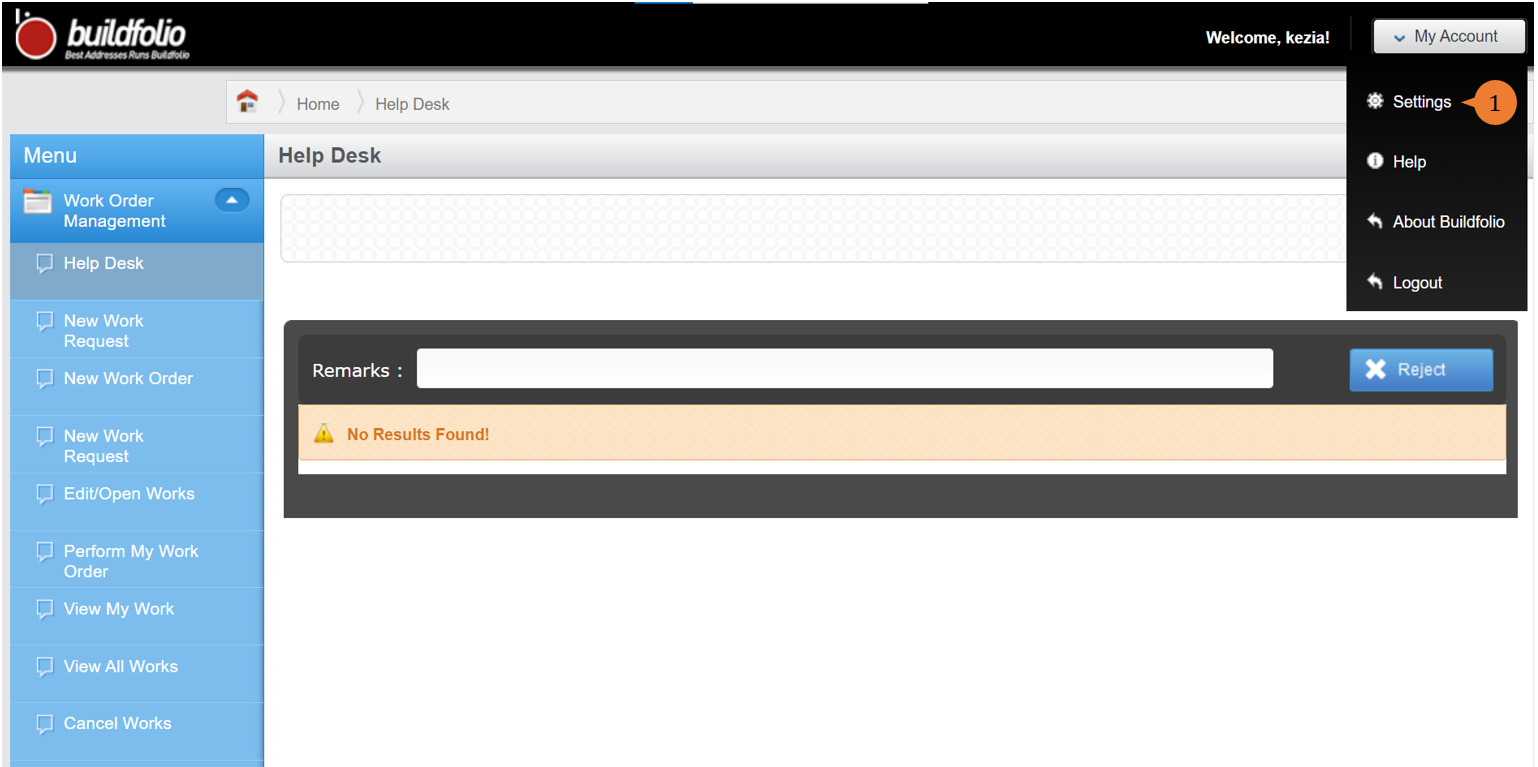
- In the My Account at the top right-hand corner, click on it and select Settings.
- To turn on the wizard mode, scroll to the bottom of Edit User Profile to switch the Wizard Mode to on.
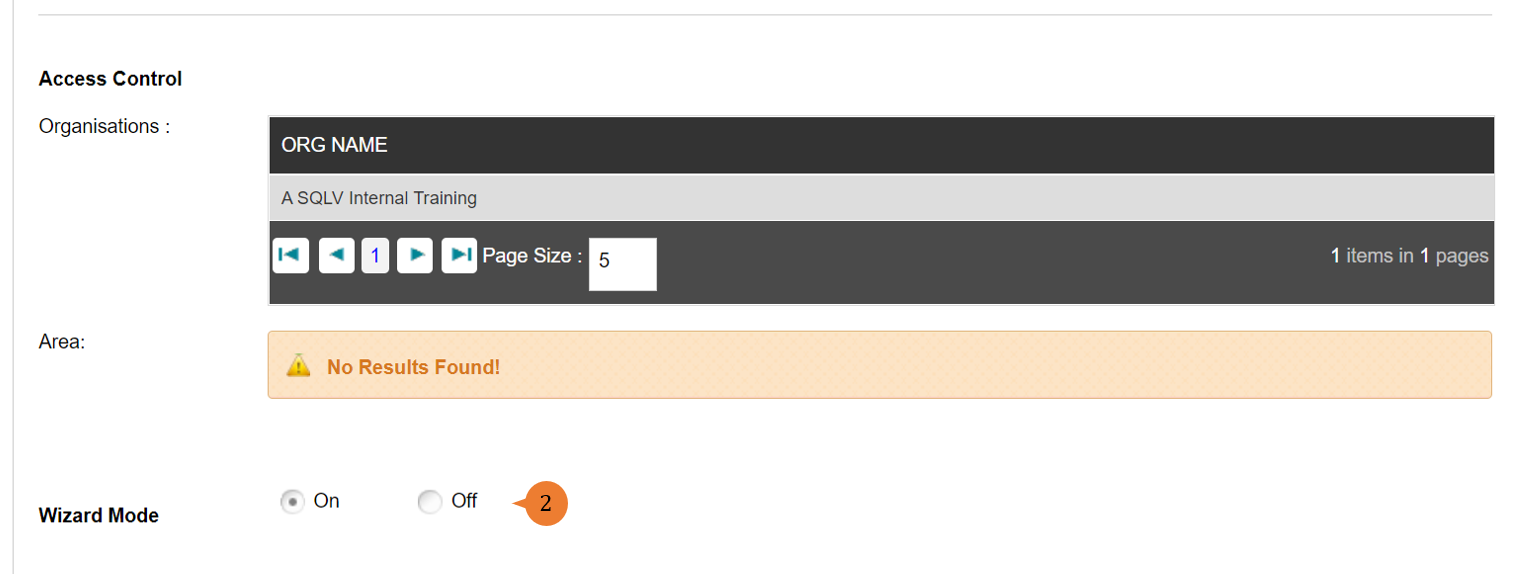
- At the top of the Edit User Profile tab, click on Update User Profile to save the changes.

- For the wizard mode to take effect, click on My Account to select Logout.

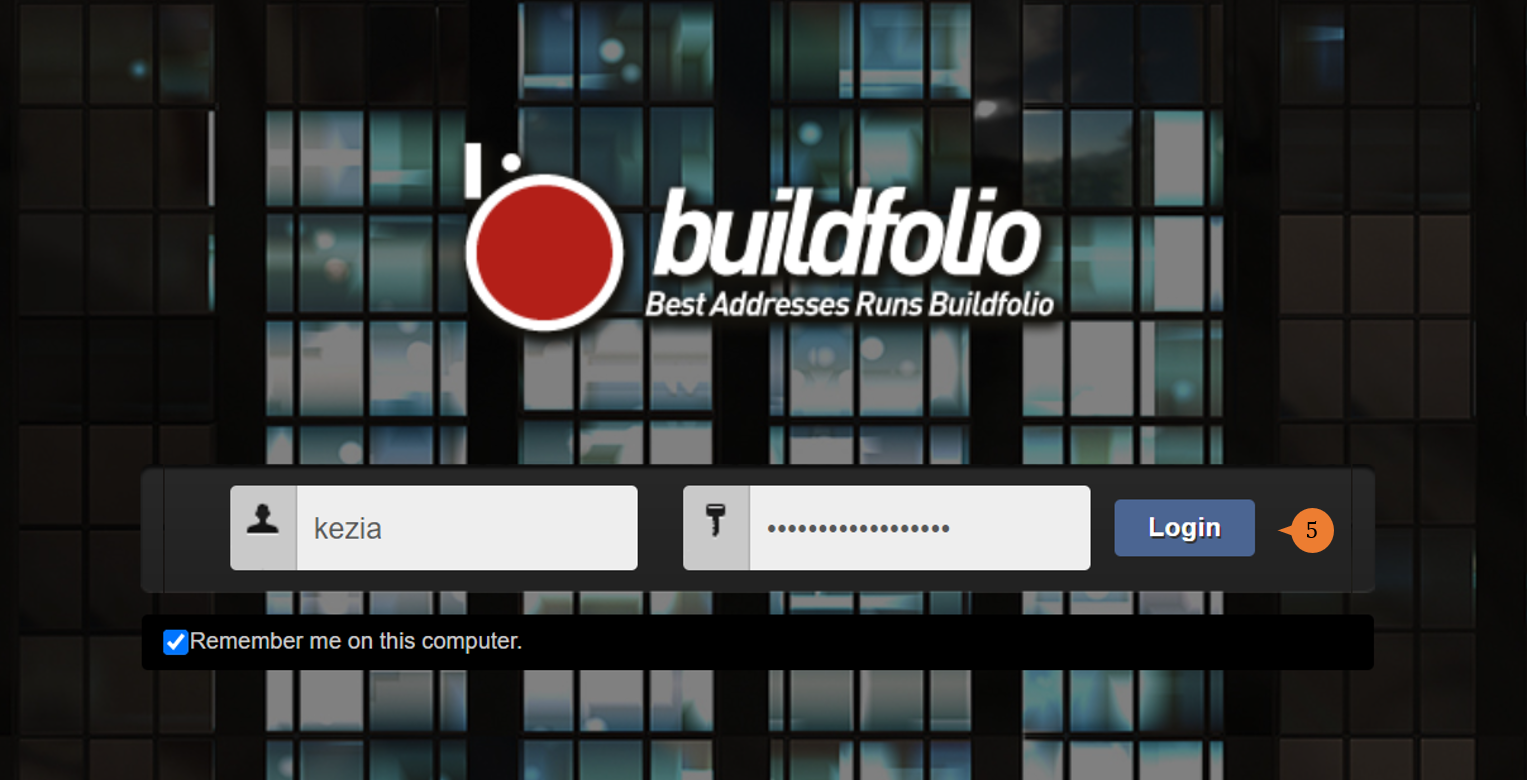
- On the Login page, fill in your user name and password then click Login.
To create a new Work Order with Wizard Mode
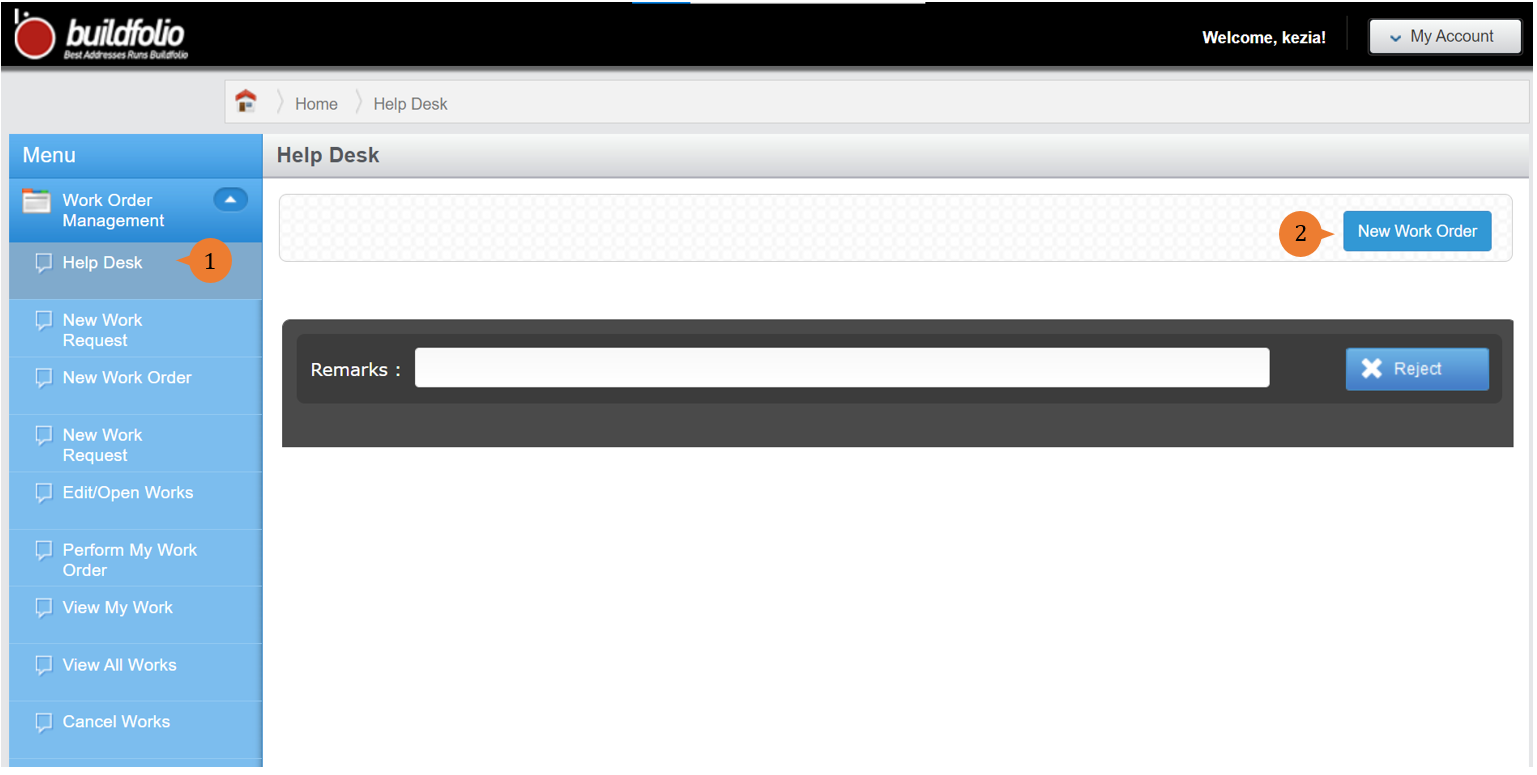
- Select Help Desk under Work Order Management from the Menu.
- Click on the New Work Order button.
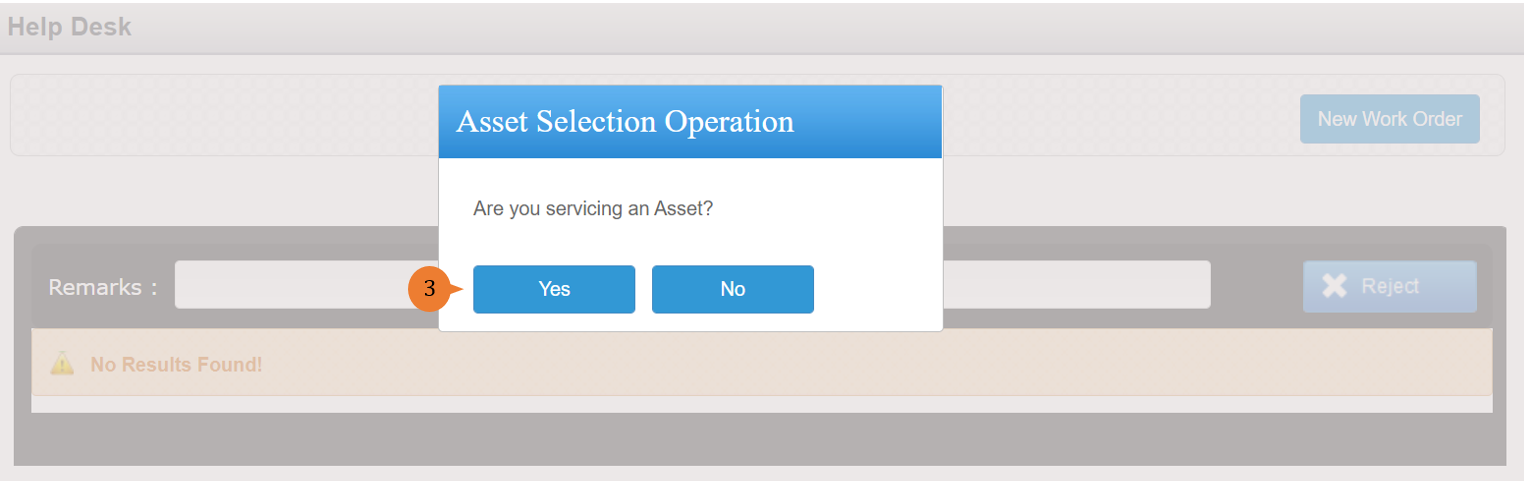
- In the Asset Selection Operation, pop-up will appear to check on “Are you servicing an Asset?”. Choose Yes if the Work Order is created for an asset. If not, choose No.
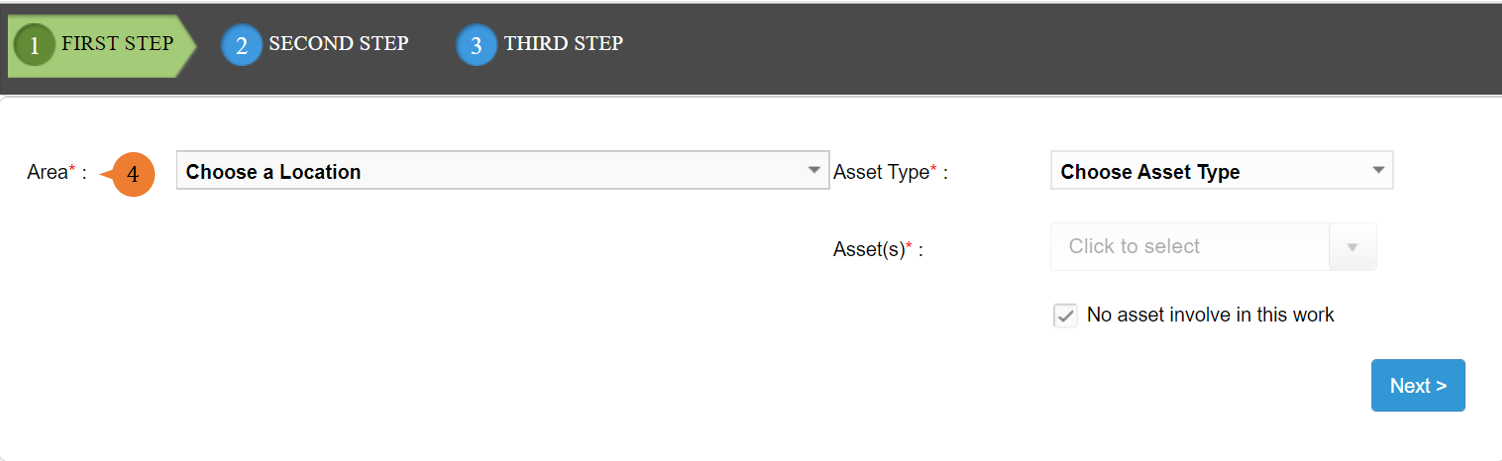
- In the First Step tab, fill in the compulsory fields marked with * and click Next.
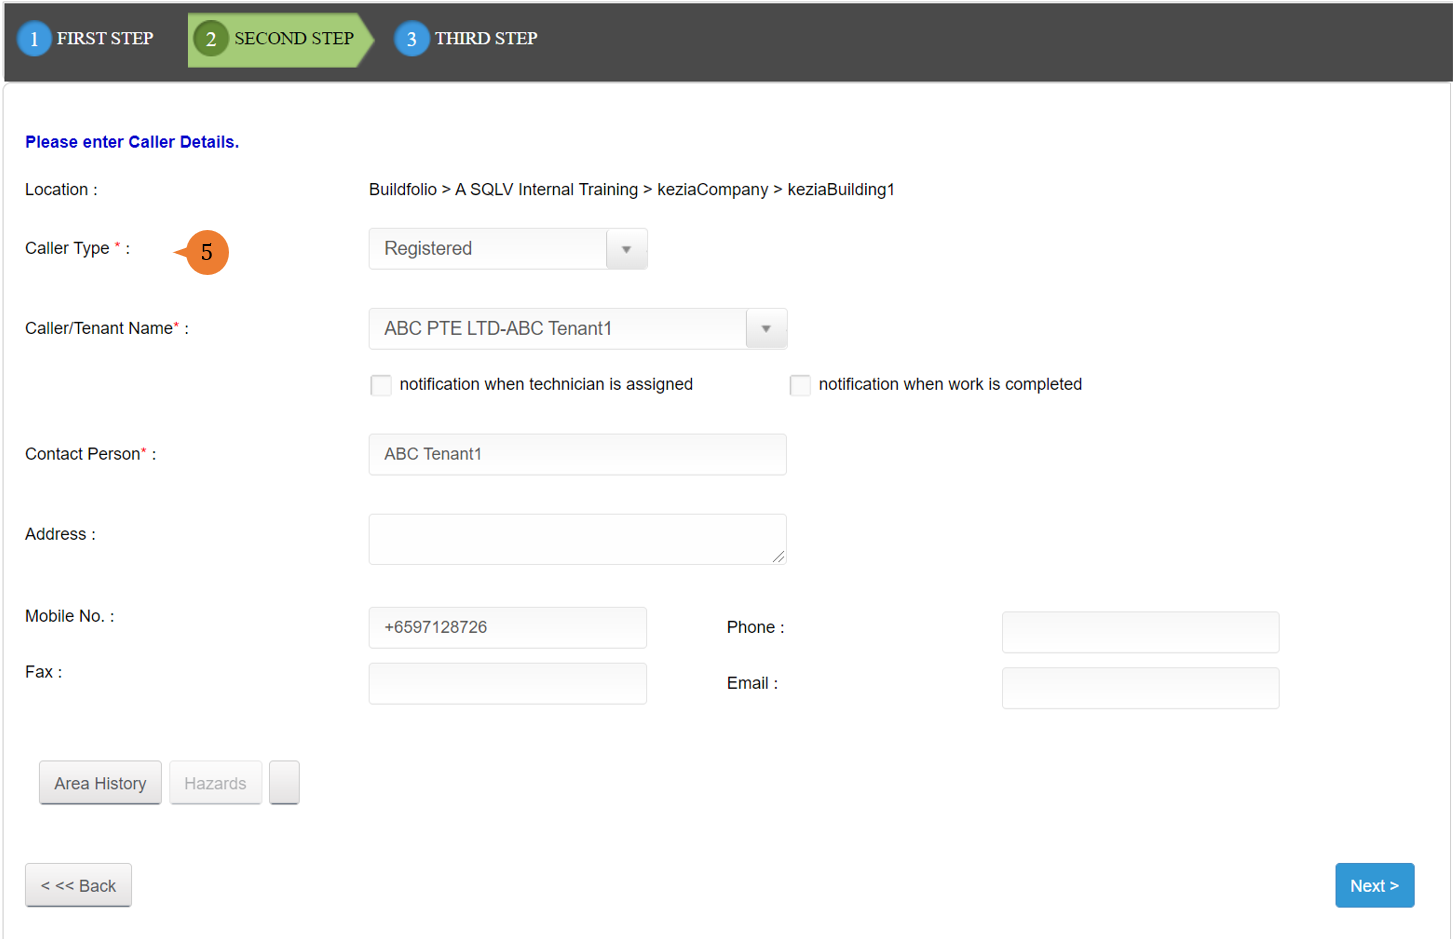
- In the Second Step tab, fill in the compulsory fields marked with * and click Next.
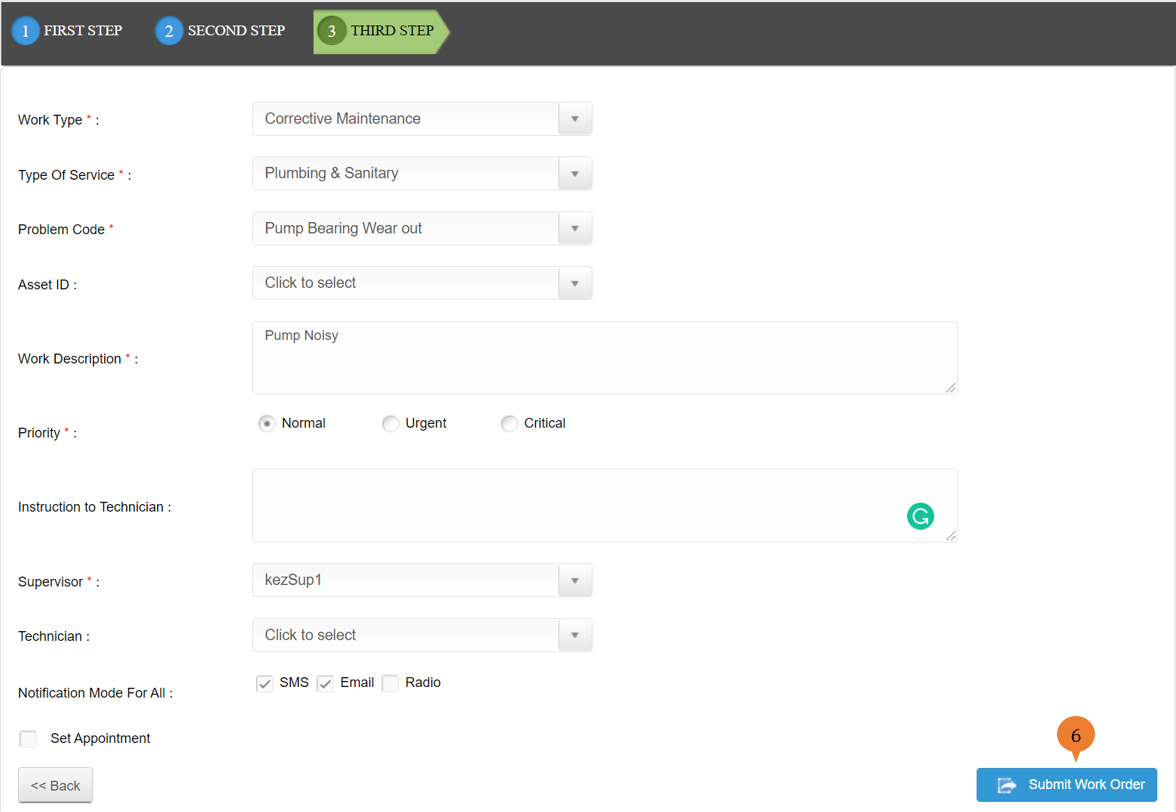
- In the Third Step tab, fill in the compulsory fields marked with * and click Submit Work Order.
- When the Work Order is successfully submitted, a success message will appear below the page title. Take note of the Work Order number.

More on this topic 
- For a step-by-step guide to creating a new Work Order, see How to create a new Work Order.
- For a step-by-step guide to creating a new work order on BUILDFOLIO II mobile app, see How to create a new Work Order in BUILDFOLIO II mobile app.
- For step-by-step guides to editing, updating, canceling, or assigning a technician to the Work Orders you have created, see Managing Work Orders.
- For more step-by-step guides to using the Work Order Management module, see Work Order Management Module.